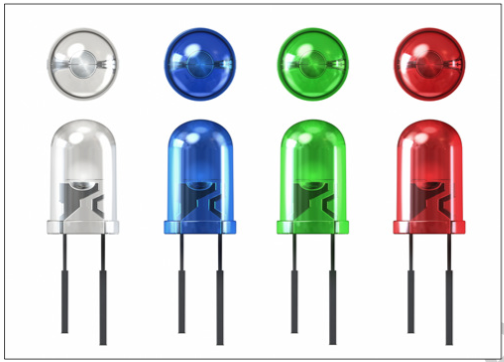
5. Light-emitting Diode
This is a suitable type of light to use with the Raspberry Pi as they are available in a variety of voltages and consume little current which makes them easy-to-use with the raspberry pi power output. Suitable choices for RPi are 3V to 6V which can be connected to the RPi 3.3 and 5V power outputs. The LED’s are also available in many colors. While connecting the LED’s, it is important to identify its pins as positive and ground. The longer pin is the one that has to be connected to the positive pole of the power source or the GPIO, and the short one to the ground pin.
5.1. Connecting LEDs
It is always exciting and fun to learn how to use the GPIO pins for various activities. The next activity will help you light an LED. LED’s are cheap and can be easily found in the market. Selecting a voltage between 3 and 5V is the best choice on RPi.
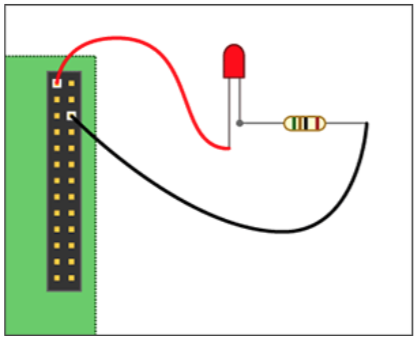
An LED can be lit by simply connecting the positive pin (the longer one) to one of the GPIO’s and the other one to ground (the shorter one) through the use of the breadboard. It is recommended to connect a 270Ω resistor on the ground (Gnd) path. This will protect the Raspberry Pi from any potential damage.
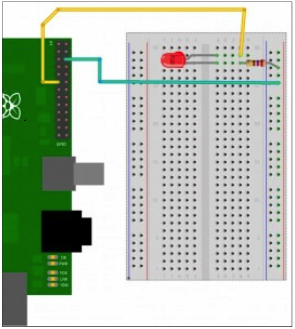
The following figure shows the connection of Ground on pin# 6 on the Raspberry Pi and the positive pole on PIN 11. It shows how the LED is connected to the RPi via a breadboard
You can always test manually if your LED is working by simply connecting the long wire to the 5V pin (pin#1) and the short wire to the ground pin (pin#6) with or without the use of a resistor. The LED should light immediately if the RPi power is on. See the following figure:
The LED can be coded for by using visual programming such as scratch or text-based such as Python.
5.2. Lighting LED using Python
After saving the code, you can run it by clicking on Run (or CTRL+F5).
5.3. Code to blink an LED