2. Getting started with LED
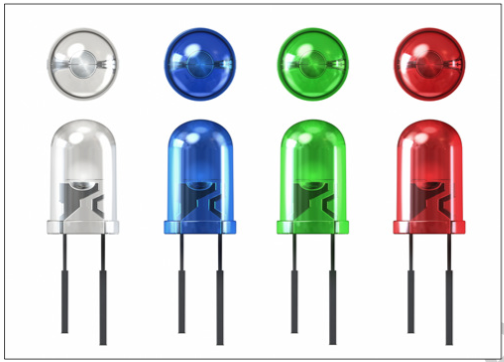
This is a suitable type of light to use with the Raspberry Pi as they are available in a variety of voltages and consume little current which makes them easy-to-use with the raspberry pi power output. Suitable choices for RPi are 3V to 6V which can be connected to the Raspberry Pi 3.3 and 5V power outputs. The LED’s are also available in many colors.
Warning
While connecting the LED’s, it is important to identify its pins as positive and ground. The longer pin is the one that has to be connected to the positive pole of the power source or the GPIO, and the short one to the ground pin.
2.1. Circuitry
2.1.1. What do you need?
- Breadboard
- LED
- Resistor 270Ω
- Jumper wires
2.1.2. How to make the circuit?
- Connect the positive pin (the longer one) to one of the GPIO’s
- Connect the negative one to ground (the shorter one) through the use of the breadboard.
Tip
Use a 270Ω resistor to protect the Raspberry Pi from any potential damage. The resistor slows down the flow of electricity to protect the LED so it doesn’t get damaged.
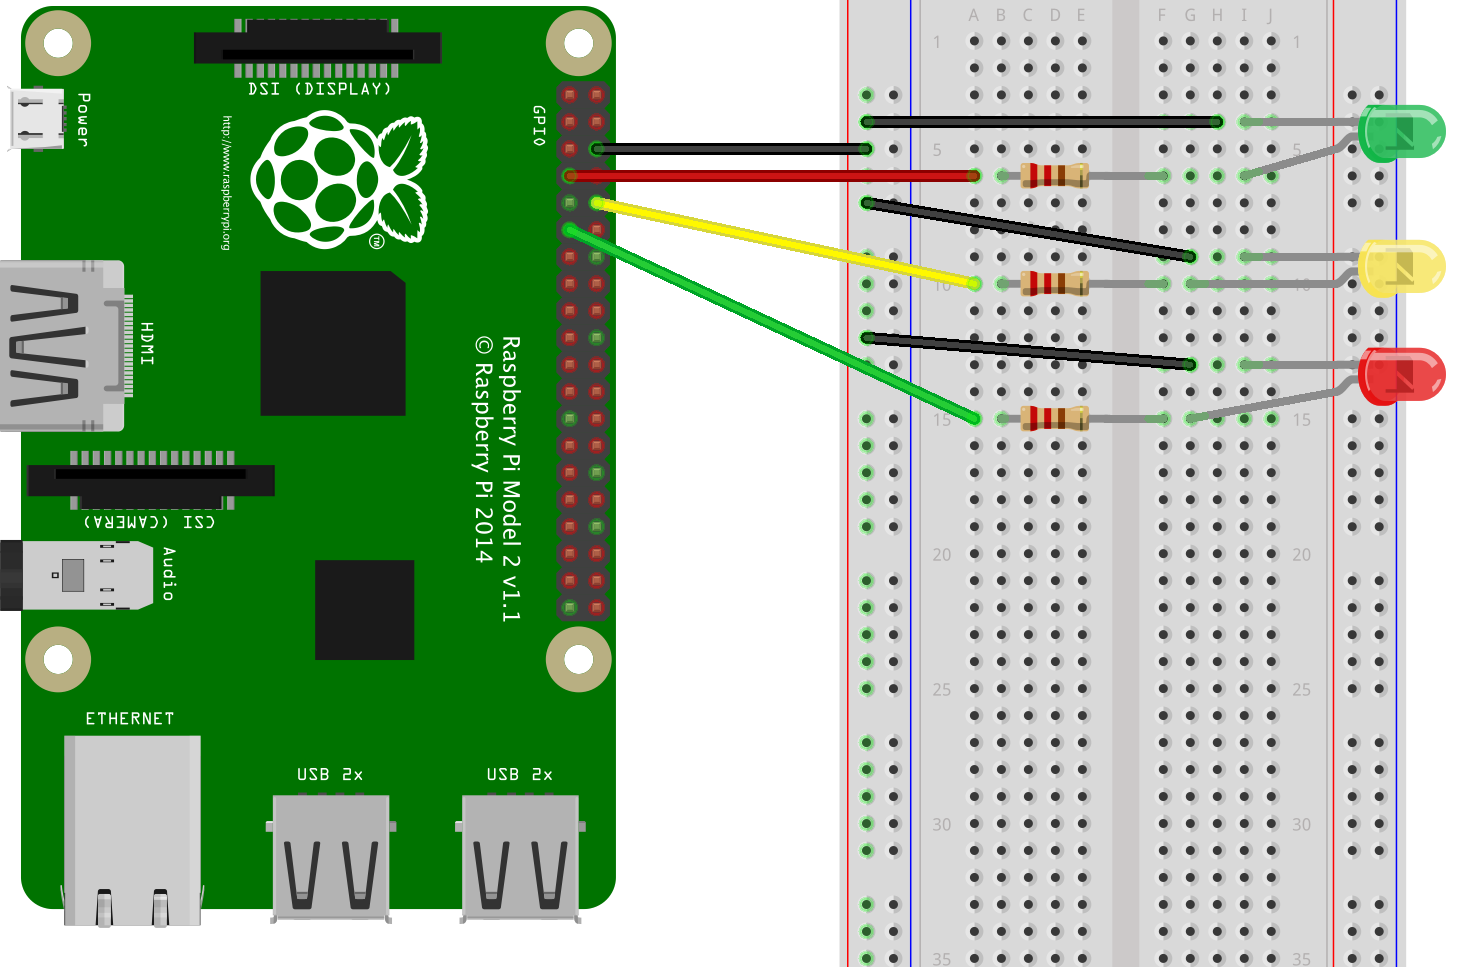
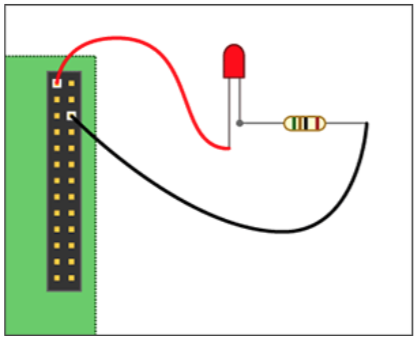
The following figure shows the connection of Ground on pin# 6 on the Raspberry Pi and the positive pole on PIN 11. It shows how the LED is connected to the RPi via a breadboard

You can always test manually if your LED is working by simply connecting the long wire to the 5V pin (pin#1) and the short wire to the ground pin (pin#6) with or without the use of a resistor. The LED should light immediately if the RPi power is on. See the following figure:
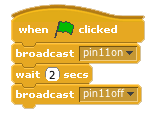
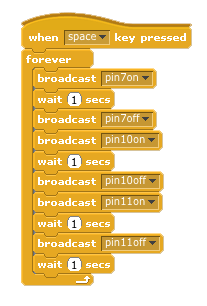
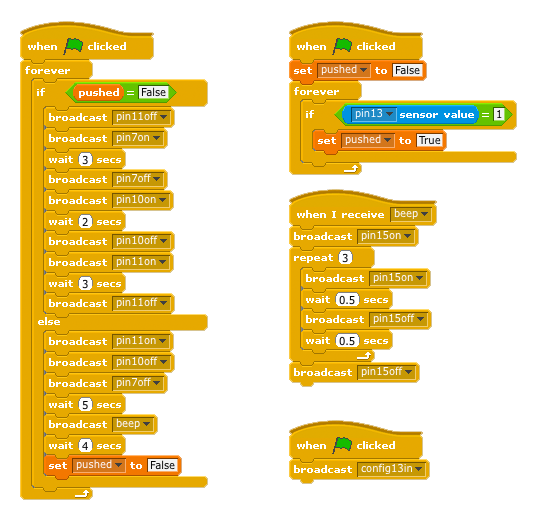
2.2. Code
From “Control” use the “broadcast” block to control the LED.
Write “PinXon” or “PinXhigh” to turn on the light and “PinXoff” or “PinXlow” to turn it off.
X is the pin number, we are using the pin11 in the example.
Use the “wait” block to control time.