1. Introduction to the Raspberry Pi
1.1. What is the Raspberry Pi?
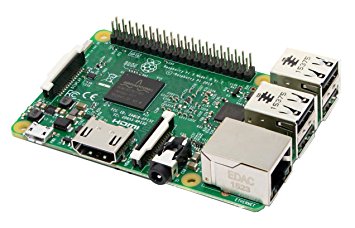
The Raspberry Pi is a low cost, credit card sized computer. It can be used exactly as any other computer you have, however it has the added advantage of being able to control external electronics through what is called the GPIO (General Purpose Input Output) pins.
Thanks to its ability to manipulate software (coding in Python or Scratch) and hardware (electronics), you will find it right at the center of all of your coding and making projects: operating as the brain that controls all your other components.
Note
There are many versions of the Raspberry Pi. In fact at the time of writing this guide there are 4 main versions:
- The first Pi (Pi 1) was the one that started it all, it was later upgraded and became the Pi 2.
- The Pi 2 was the second version released and is still used today. Overall, it is quite similar to the Pi 3 with the major exception that it does not have built-in bluetooth or WIFI.
- The Pi 3 Model B is the newest version; it is better and faster than the previous models and includes even more ways to connect to other devices!
- Finally, the Pi Zero is kind of a “light” version, that includes less options, but is very small and power efficient (great for small and low power projects!).
1.2. What are the Raspberry Pi Components?
The Raspberry Pi being a full computer is made up of many parts and connectors, you can read more about each part below.
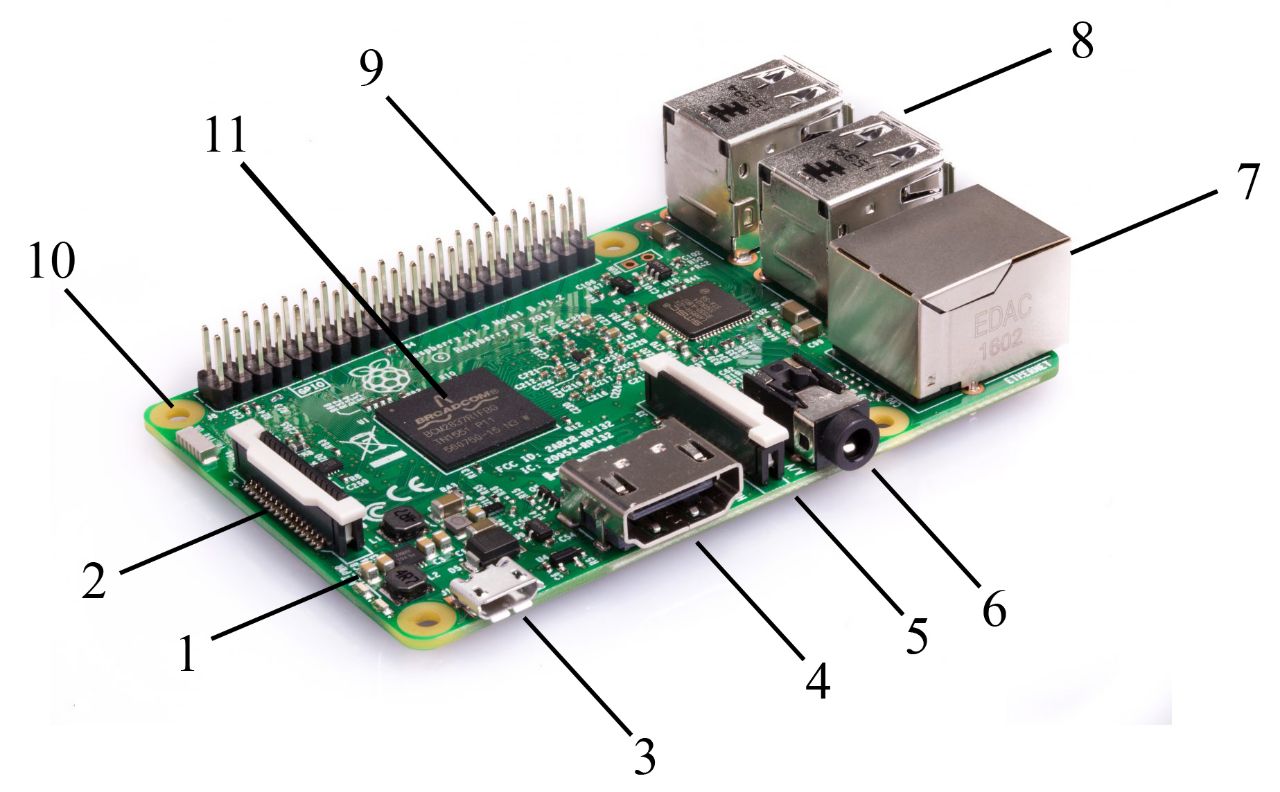
- Power Status Lights: There exist 2 power status lights in the raspberry pi 3 model. The red light is called the power status light: this should turn on when the Pi is connected to a power source and stay on. The other light, which is green, is the activity status light and should blink (on then off) every time the Pi is performing some activity.
- Display Connector: This connector is used to connect touch screen displays such as the Raspberry Pi Touch Display.
- 5V Micro Usb Power Connector: This is the connection which is used to power the Pi. In order for the Pi to work this must be connected to an appropriate power supply.
- HDMI Port: This is used to connect an HDMI cable to your Pi, so that you can view your RPi’s desktop on a screen.
- Camera Connector: This is a special connection used for the Pi Camera (covered later in the guide).
- 3.5mm Audio/Composite Jack: This connection is used to connect speakers to the Pi, so that you can play music or any other type of audio from the Pi.
- Ethernet Port: Used to connect an ethernet cable to the Pi. This can be used to establish a connection with other computers or systems (such as the internet) when WIFI is not available.
- USB Ports: You can use these to connect USB devices such as: keyboard, mouse, hard drive, USB stick, and many others.
- GPIO Pins: The GPIO pins are the pins which are used to connect external electronics to the Pi. They are explained in detail later on in the guide.
- Squarely Placed Mounting Holes: You can use these holes, with screws and bolts in order to physically fix the Pi in your projects!
- Broadcom BCM2835: This is the processor of the Raspberry Pi, in other words it is its brains, and perhaps the most important component in it. But that’s all we need to know.
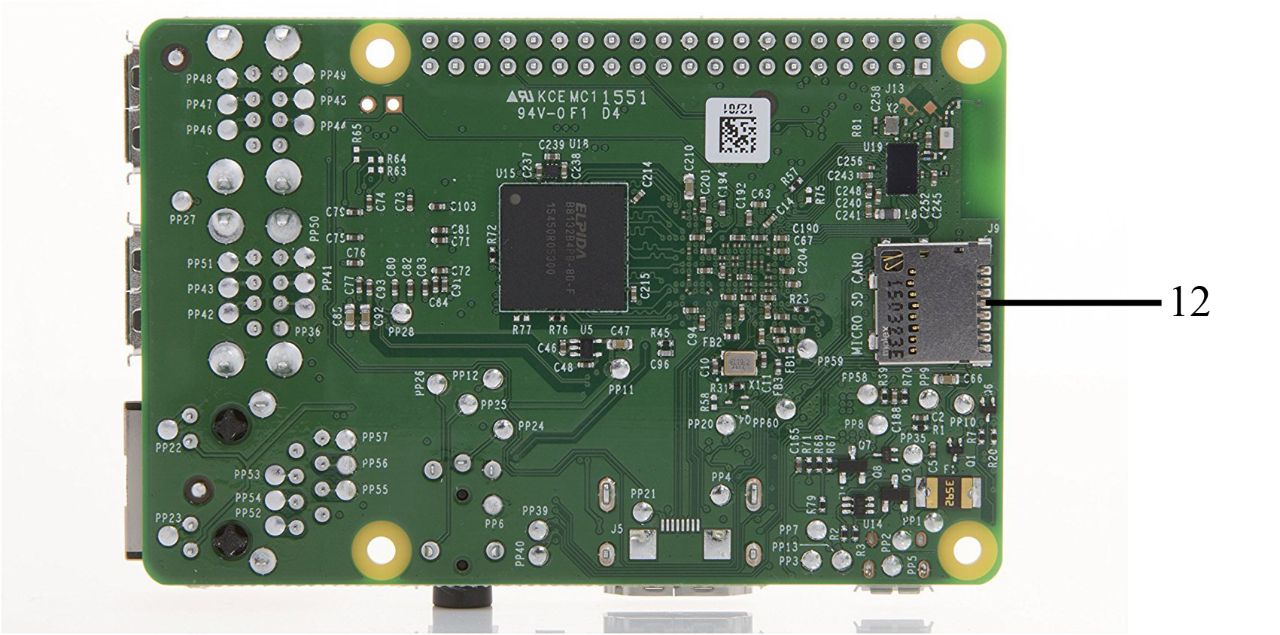
- SD Card Slot: This is where the micro SD card fits in. Unlike in tablets and smartphones, where SD cards are used just to increase your storage capacity, the SD card in the Pi is essential for it to fully turn on.
1.3. What do you need to setup your Raspberry Pi?
1.3.1. Inserting the SD Card
The Raspberry Pi doesn’t have a hard disk built in to it, so it uses a Micro SD card as its main storage. Before turning on your RPi make sure to insert the SD card in the slot.
Note
The SD card also contains what is known as the operating system (OS). Without this operating system, the Raspberry Pi cannot boot up. The SD card you received with the Pi has an OS already installed on it. But if it doesn’t, you can always install it yourself on any SD card you have by following the short tutorial below:
1.3.2. Connecting a Keyboard and Mouse
The next step is to plug in a mouse and a keyboard, so that you can click and type text on the Raspberry. Connecting the keyboard and the mouse is very simple: you just plug in the USB cables into the Pi, and they should start working as soon as the Pi turns on.
Note
Keep in mind that you can also use a bluetooth keyboard or mouse and connect it to the Pi 3’s built-in bluetooth, but you will first need a usb keyboard/mouse to connect it.
1.3.3. Connecting a Monitor or TV
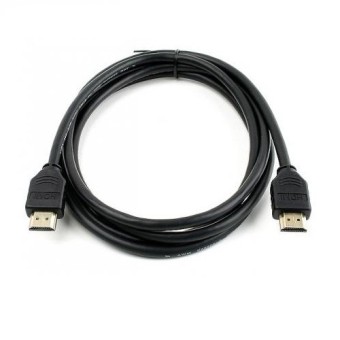
Your Pi should start up as soon as you plug in the power supply. But, before that, in order to see what’s happening with the Pi you will first need to connect it to a monitor or a TV screen. The Raspberry Pi uses an HDMI (High Definition Multimedia Interface) connection for the video feed. If your monitor or TV has an HDMI socket, you can connect the Raspberry Pi directly to it using an HDMI cable such as the one below.
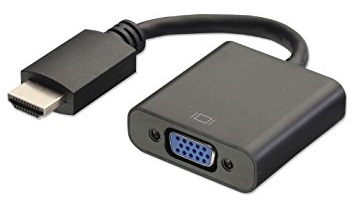
However, if your monitor does not support HDMI, but supports VGA (Video Graphics Array) you can use a converter that converts the signal from HDMI format to VGA.
1.3.4. Power Supply
Once your SD card is in and everything is connected, you can now power your Pi. To do this you should connect a power supply such as the one in the figure below to the 5V Micro USB power connector of the Pi (if you’re not sure where the connector is check out: What are the Raspberry Pi Components?).

1.4. Switch on your Raspberry Pi
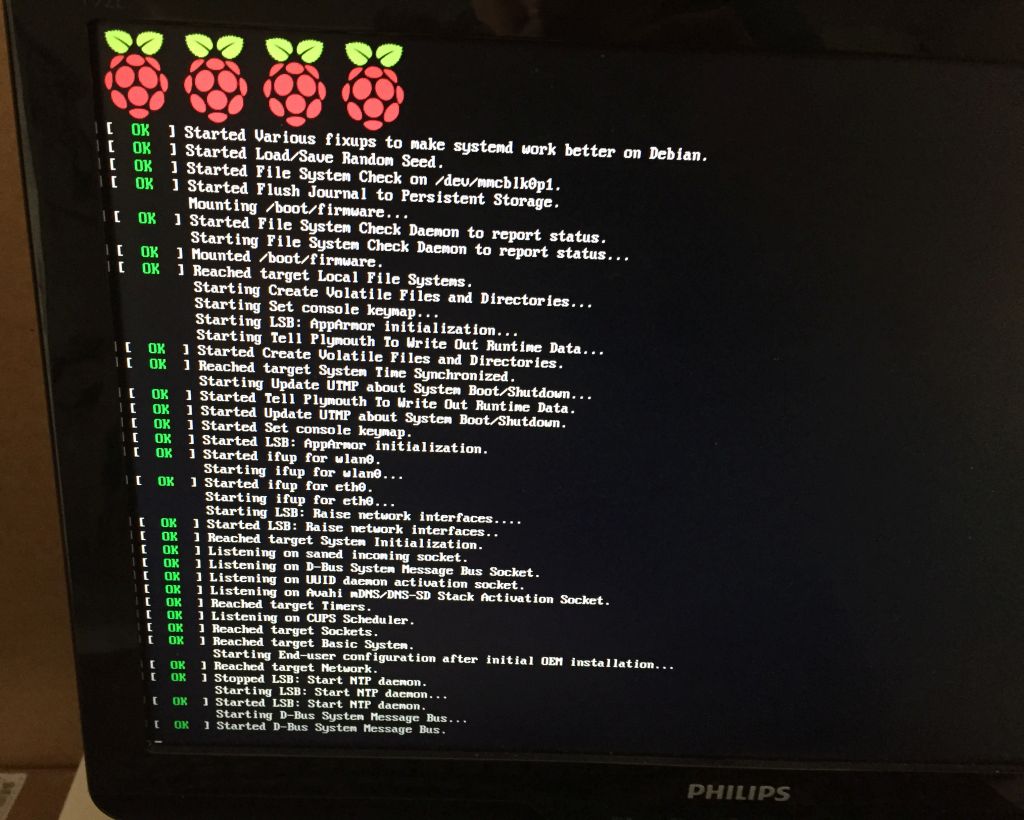
The Raspberry Pi in your hand has already an operating system installed on the Micro SD Card you plugged in. As soon as the RPi is connected to the power, it will switch on! Lots of words will show up:
Finally, after all the loading is done, you should see a screen similar to the one below:
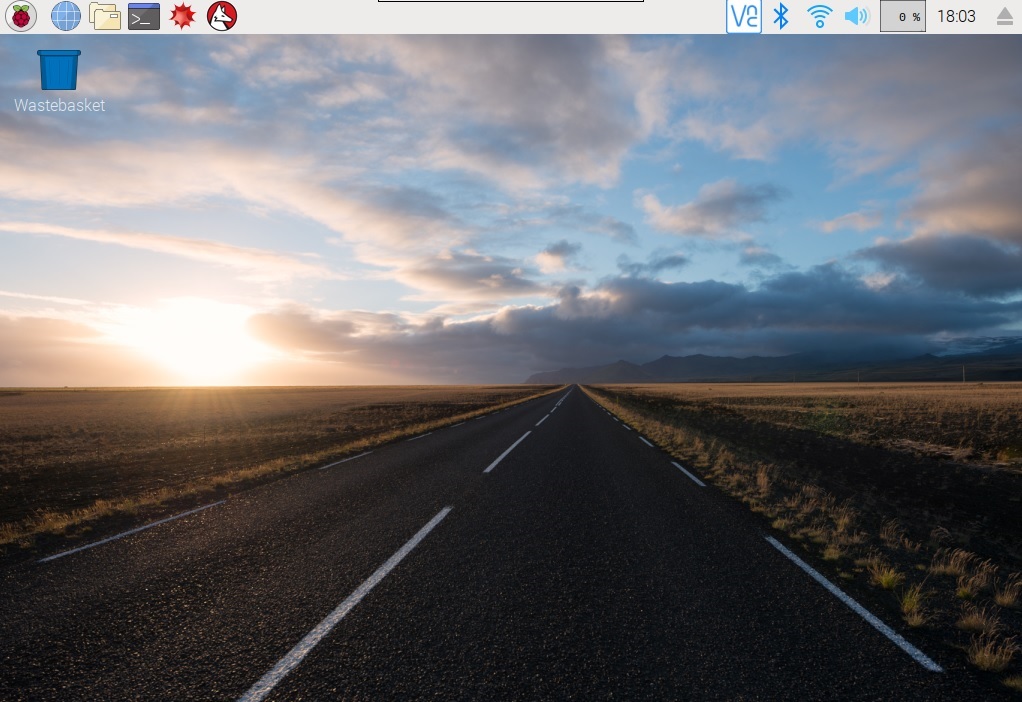
This is the desktop, and this is where most of your work will happen and where your apps will run.
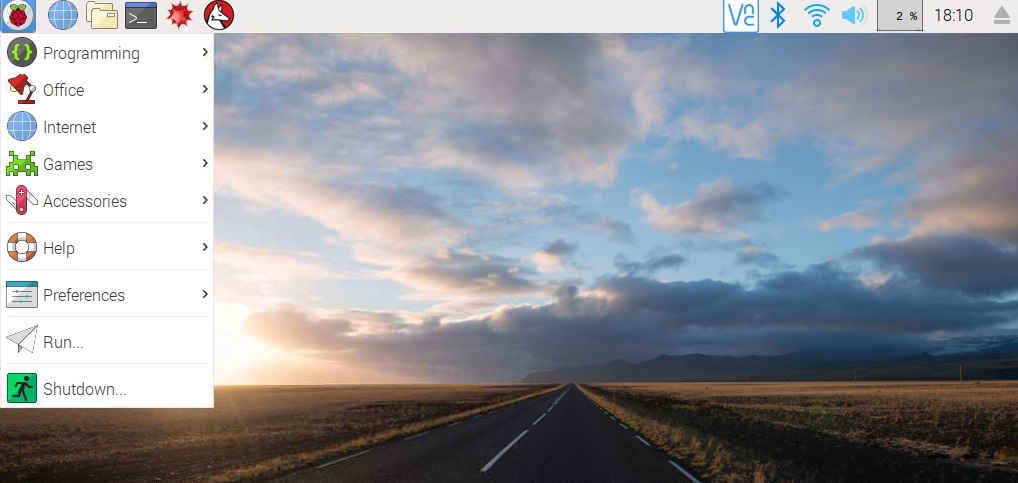
The Raspberry Pi comes with many great apps you can use, in order to check them all out, click on the Menu on the top left.
1.5. Configuring your Raspberry Pi
1.5.1. Connecting to WIFI
Warning
This section covers connecting to a WIFI network using the Raspberry Pi 3. If you have a Pi2, you can connect to WIFI using an external USB dongle: see the notes at the bottom of this section.
To connect to a network simply click on the wireless logo on the top right. (keep in mind that the logo will vary as your connection status changes)
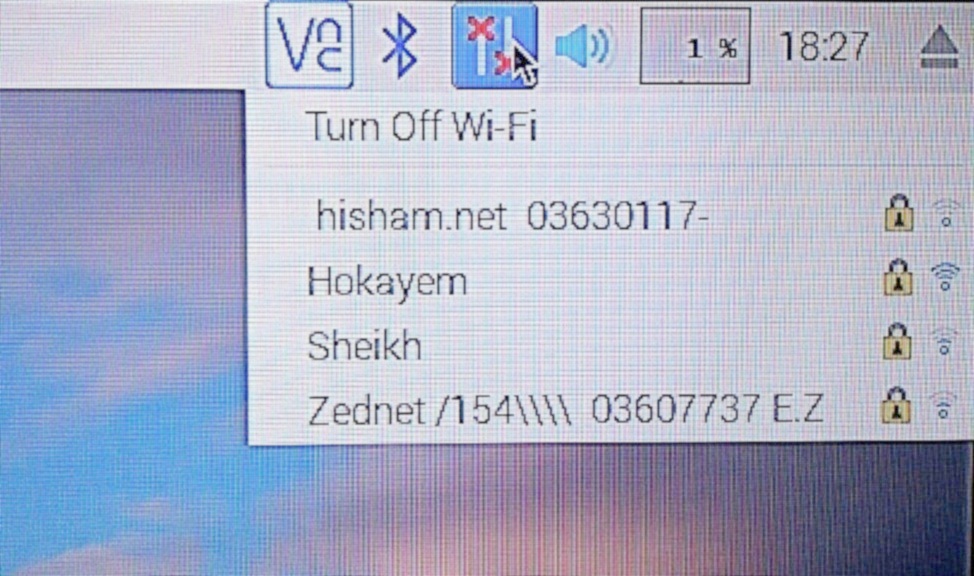
You can then select the network you want to connect to by clicking on it. You will then need to enter the password. Once that is done the logo will start changing…
If the connection was successful you will see the logo under the shape shown in the image below:
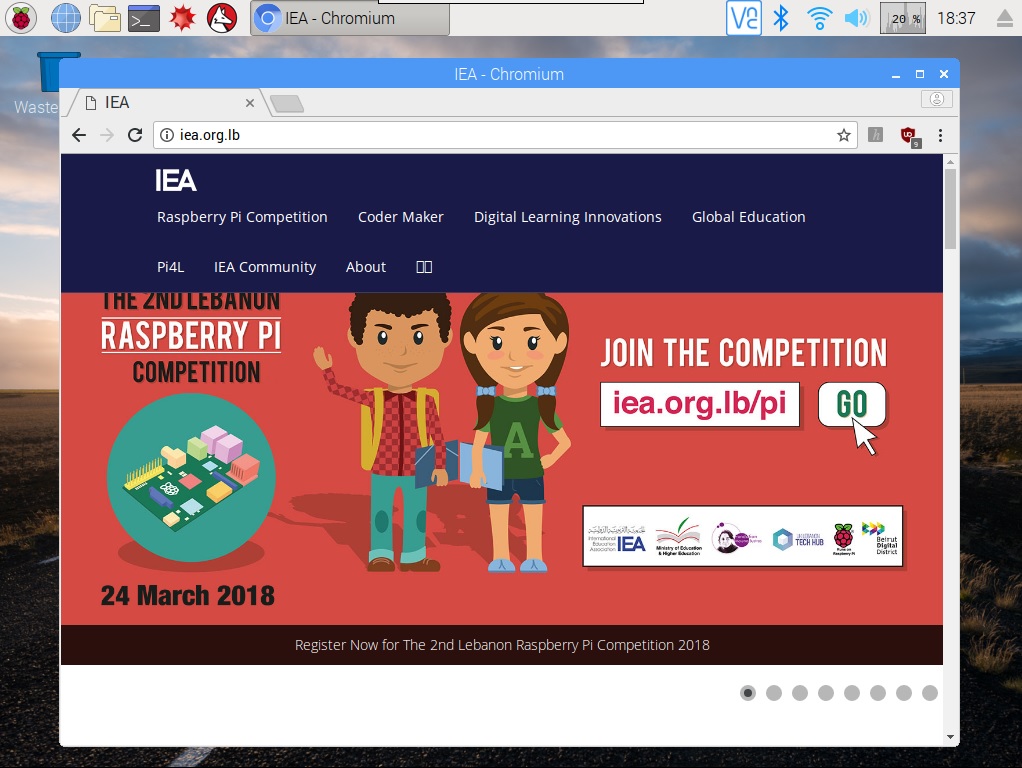
To test out your internet connection just head over to the internet browser and try to access your favorite websites!
Note
Connecting Wirelessly using a Raspberry Pi 2
To connect your Pi 2 to a router and to the Internet, you can use a Wi-Fi dongle, which you can plug into one of the Raspberry Pi’s USB sockets.
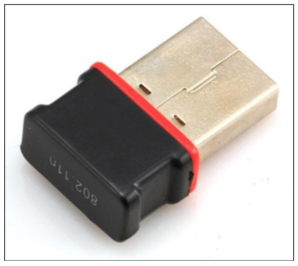
Make sure to plug in the Wi-Fi dongle in the USB port and that it’s working properly.
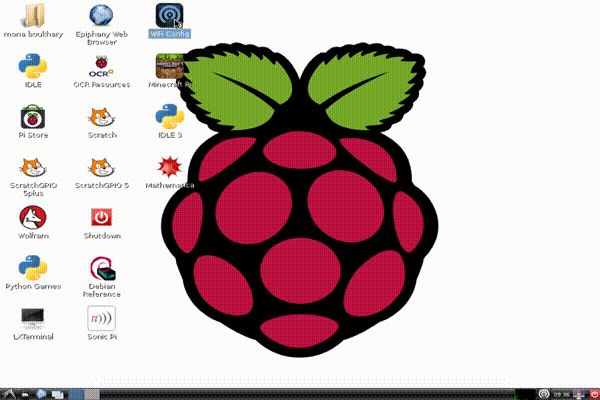
1. From the Menu choose Preferences then Wi-Fi Configuration, or click on the icon on the Wi-Fi Conf icon on the Desktop.
- The “wpa_gui” window will open. Click on the Scan button to search for available.
- Choose the network you want to connect to from the “scan results” and double click on it.
- The “Network configuration” window will open, enter you authentication key then click save.
- Finally, choose your network and click on connect.
Your Pi 2 is now connected to the internet and you can proceed to the next section!
1.5.2. Updating the Software
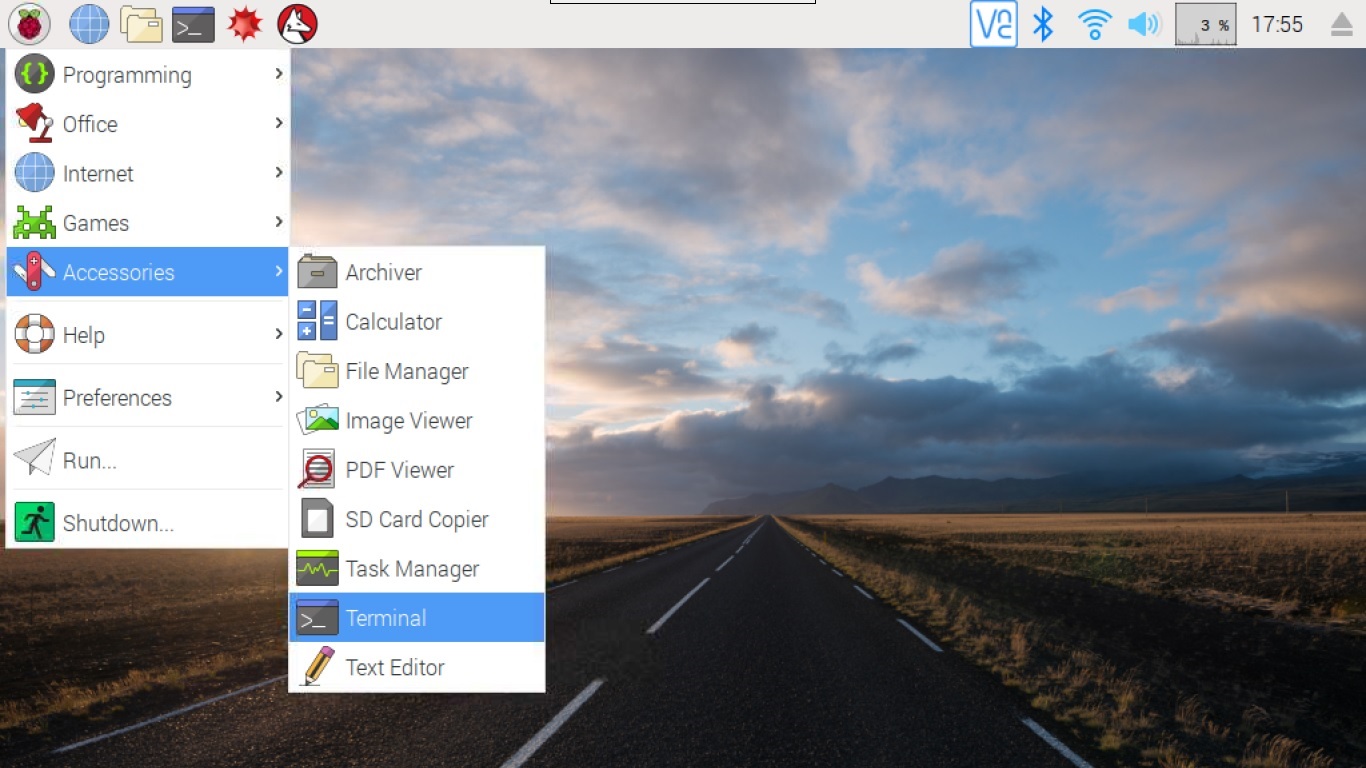
Open the Terminal from Menu → Accessories → Terminal.
Or click on the Icon of Terminal from the top left Menu.
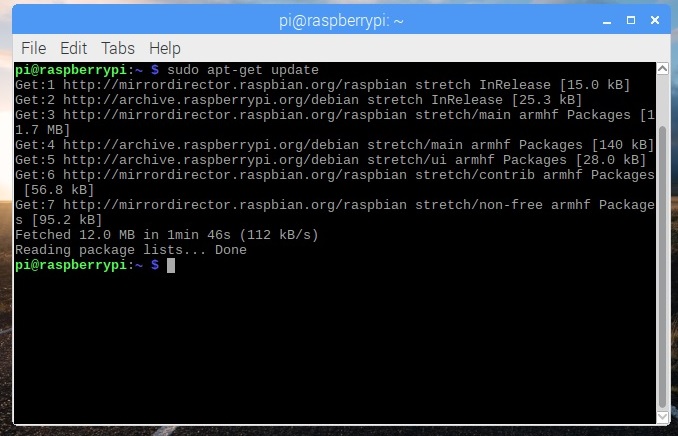
Update your system’s package list by entering the following command in the Terminal and press enter:
sudo apt-get update

When the update is done you should see something similar to this:
1.5.3. Downloading and Installing Scratch GPIO
If you’re going to be using scratch you can follow the steps below to get the newest version of Scratch GPIO:
Open the Terminal and type the following command then Enter:
wget https://git.io/vMS6T -O isgh8.sh
Once the installer has been downloaded, type the following command:
sudo bash isgh8.sh
This will install the newest version of Scratch GPIO. The installer will create 2 desktop icons – ScratchGPIO8 and ScratchGPIO 8Plus.
That is it, well done! You are now all set and ready to learn how to program your Pi!